Pages

Sunday, August 14, 2011

The Back to School Basics of Hair


It's about that time again, back to school! everyone is anticipating the new school year. Most likely, you are going through a checklist of things that you or your little one might need in order to start the school year; pencils, pens, are paper are probably the first thing that comes to mind, and hair is probably placed much further down the list.
Having a good breakfast, having your homework done, and making to school on time are the main priorities when it comes to school. Doing your hair the night before can help reduce the morning rush drastically! Follow these simple steps and your hair can look freshly done in half the time! Instead of ripping through your hair and running out of the door follow this method.


1. Wash or cowash your hair the night before:

This way you will have an ample amount of time to care for your curls, when we are in a rush to do our hair, the hair tends to suffer from it; tearing through tangles, piling on excessive amounts of hair products, and tying up the hair way too tight causes unnecessary damage.

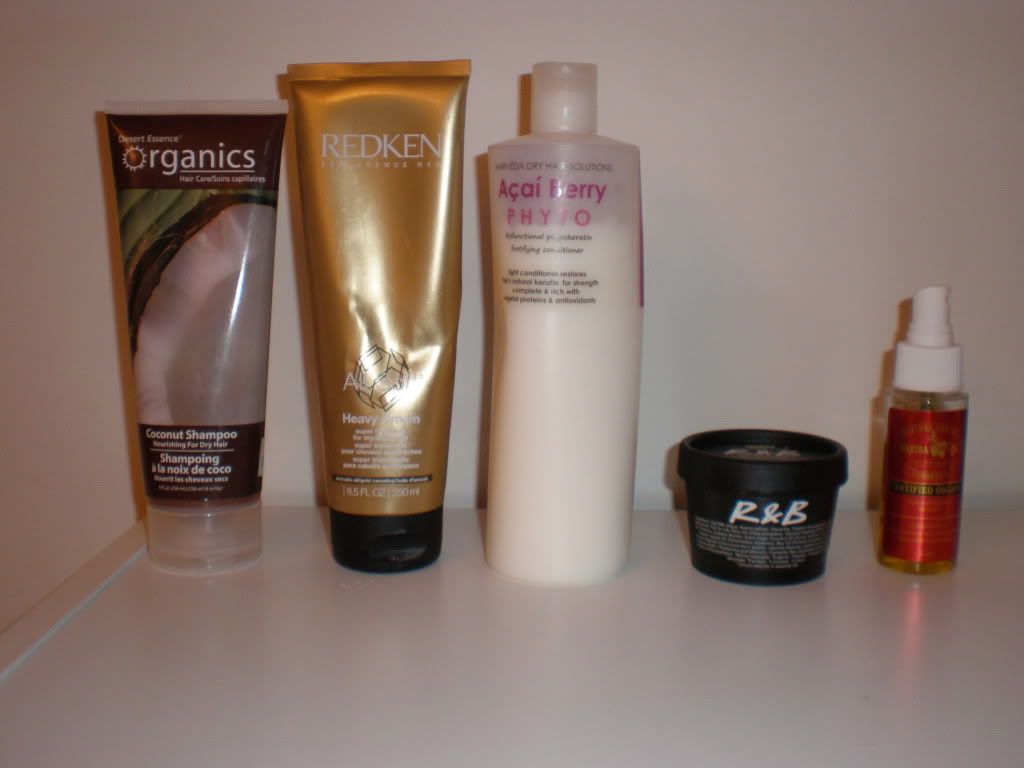
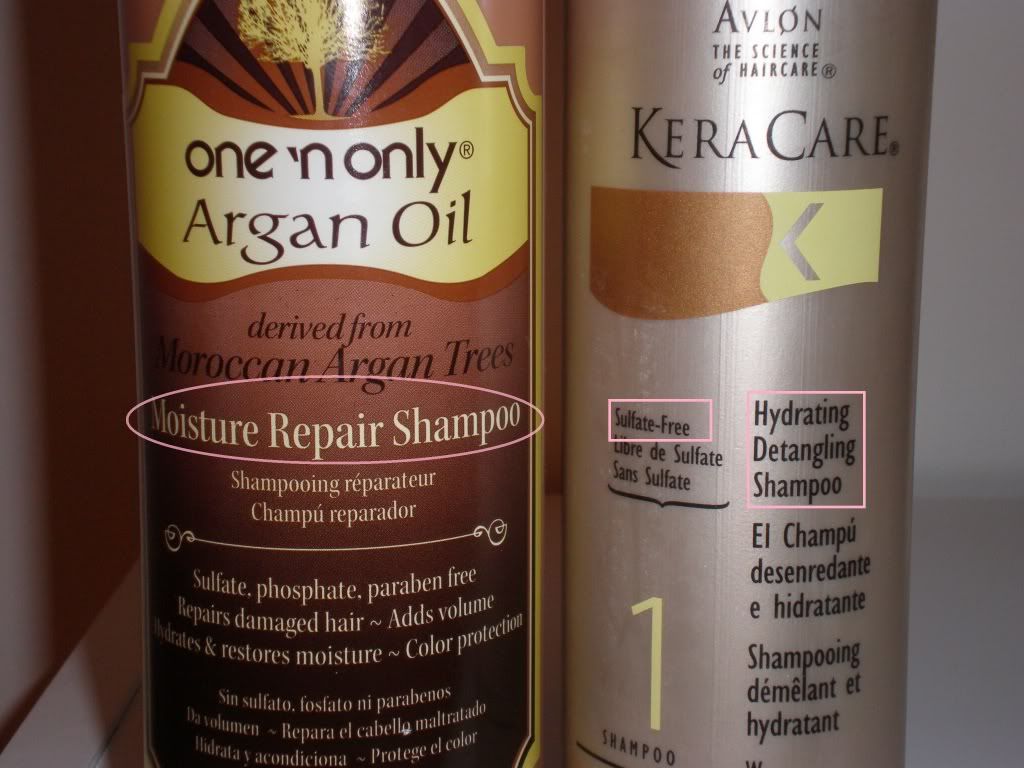
* Remember: If you're using shampoo, use it on the scalp ONLY! Don't forget to deep condition!


2. Part your hair in sections and apply leave-in conditioner and/or moisturizer from root to tip, then comb through.

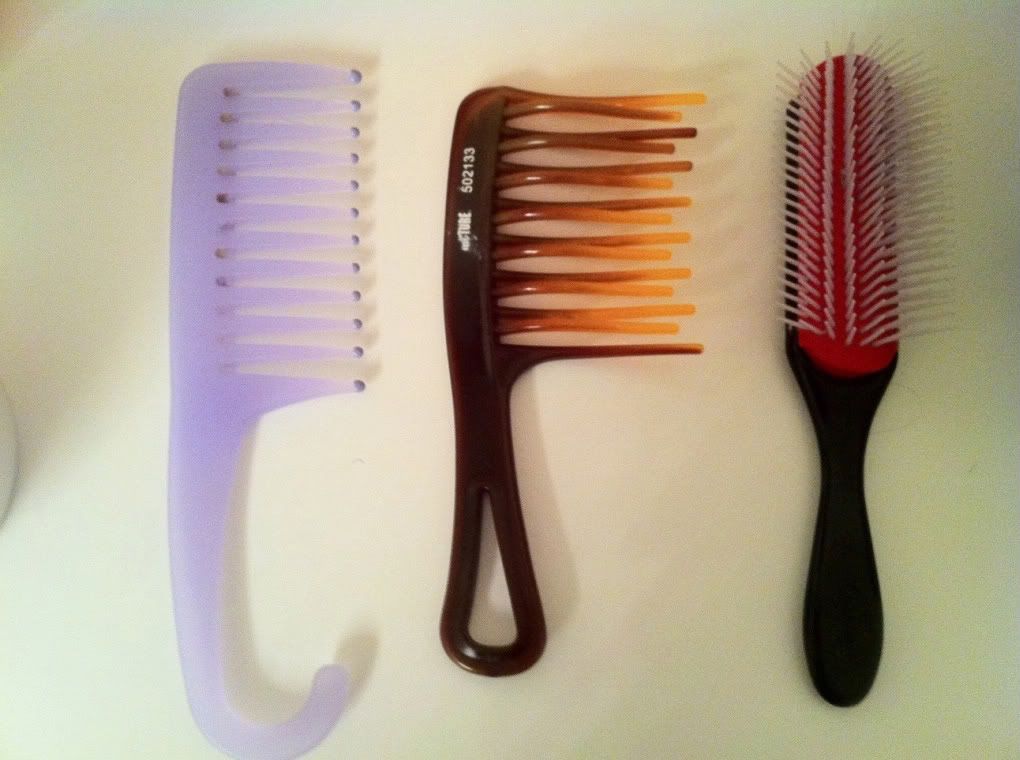
 This will ensure that your hair will be moisturized and deter dryness and frizz. If you have a Denman brush now would be the perfect time time use it! If you don't have a Denman brush, a paddle brush should do the trick.

Remember: Only comb your hair is wet AND fully saturated with conditioner/leave-in/moisturizer

Optional: After applying leave in conditioner  I like to apply Aloe vera gel to each section for maximum style and curl definition!


3. Seal those ends!

    Applying oil to the ends of your hair will ensure that the moisture stays in your hair.


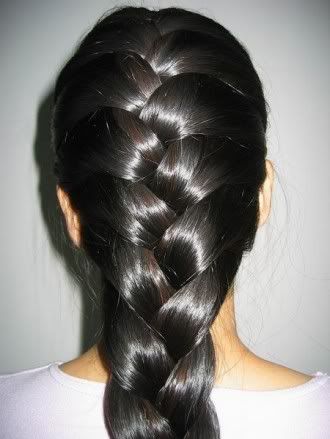
4. Part it & Braid or Twist it !

It doesn't need to be elaborate, any  regular braid or twist will do, just make sure you secure the ends!
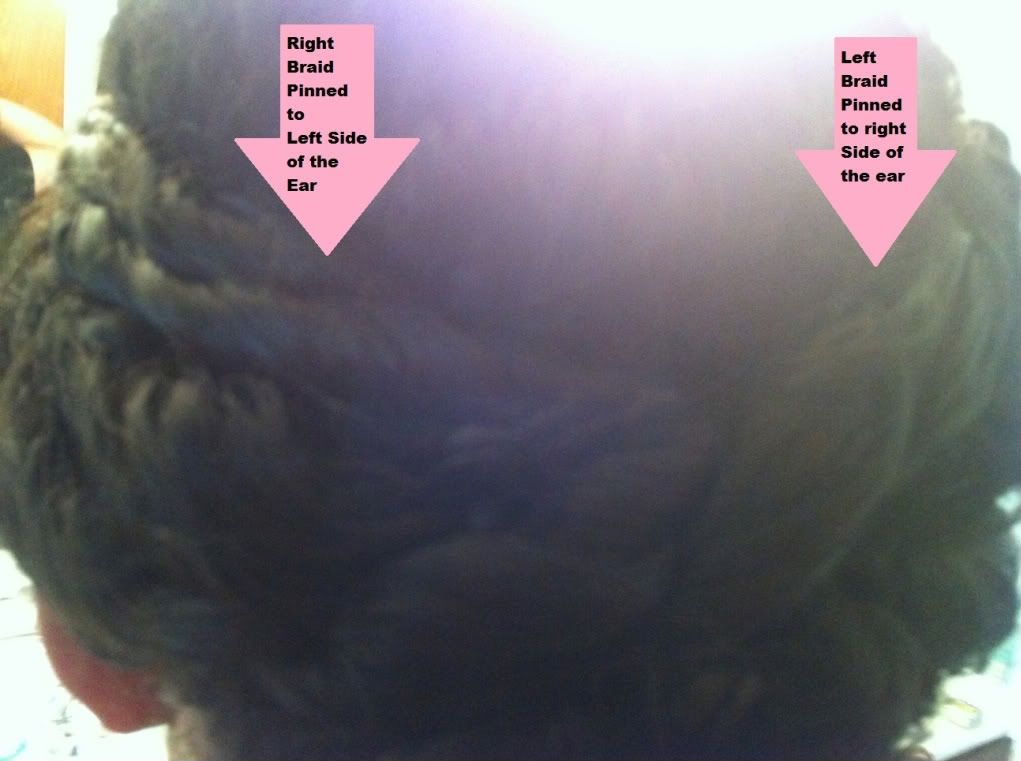
                                                                      Click on picture to enlarge


5. Pin it up!

Pinning up the braids or twists help elongate your the curl/wave pattern. I use a crossing pattern by taking the left braid, and pinning it up behind my right ear, and pinning my right braid behind my left ear. I secure both braids in place with a bobby pin.

Optional: Wrapping the hair in a satin scarf helps keeps the hair in place while you sleep, some people cannot sleep well with anything on their head, but if you can it is highly recommended!

In the morning, simply unravel you braids/twists, lightly apply your styling products of choice and you're done!

If tackling your hair is on your morning checklist, you can now say mission: accomplished!


Saturday, August 13, 2011

Cowashing

What exactly is cowashing? Cowashing aka no-pooing is simply using conditioner instead of shampoo. This is great for those who prefer to wash the hair more than once a week, especially great for those who like to shampoo everyday! There are many benefits to be had if you decide to cowash.

*reduces the amount of tangles
* keeps hair soft and manageable
*keep hair moisturized.


When I cowash my hair, I simply to the following:

1. Rinse my hair in the shower until it is completely soaked

2. Part my hair down the middle, and slather conditioner from root to tip

3. Comb through, and rinse out. 

Some people use conditioner specified for cowashing, but others just use whatever conditioner the like.

The cleansing conditioners I like best for cowashing are the following:

*DevaCurl No poo clenasing conditioner

*Hair One Olive Oil for dry Hair cleanser and conditioner

* Avalon Lemon Clarifying Conditioner

Remember, you don't have to use a conditioner specified for cowashing, just use any conditioner that makes your hair feel nice!

Hair survival basics


In order for your hair to reach it's maximum potential, there are a few things you'll need to keep your hair well nourished, balanced, and beautiful. The following is a list of what you'll need, and why you need it.

Shampoo: The purpose of shampoo is to keep the hair and scalp fresh and clean. It is not recommended to shampoo everyday, because it can be drying to the hair. Remember, when choosing a shampoo it's best to choose one that says sulfate free. Whenever possible choose on that says the words "hydrating" or "moisturizing" on the bottle.  Such as these:


Shampoo should be used once or twice a week, if you are like me, and need to cleanse your hair more than that, that's when "cowashing" would come into the picture. Cowashing will be mentioned in a later post.
NOTE: When washing your hair apply shampoo TO THE SCALP ONLY!!! DO NOT APPLY TO ALL OF YOUR HAIR! this can make your hair dry and rough. Once you have applied the shampoo to the scalp, let the lather from the shampoo run through the rest of your hair while you rinse.


Deep Conditioner:  Deep conditioning is the most important process of hair care that seems to be over looked. Deep conditioning is key to hair care because it provides much needed nourishment and moisture that hair needs to thrive. Many people suffer from dry, frizzy, and matted hair due to lack of deep conditioning.

1. When applying deep conditioner, apply to the hair only, not the scalp.

2.   Section your hair down the middle, or in four parts to ensure even penetration of the conditioner and less tangles upon combing the hair. It's VERY important to comb the conditioner through your hair!

3. Finally, let the conditioner sit on your hair. You can do this while showering and rinsing your hair last, or your can let it sit on your hair for up to 45 minutes, some people deep condition overnight! It depends on how much time you are willing to invest on your hair. I choose to deep condition with heat for about 30 minutes. There will be a post dedicated to the methods of deep conditioning later.

4. Deep conditioning should be done after every shampoo, at least once a week.

Rinse out Conditioner:

Many people use rinse out conditioning as their only source of conditioning. Alternatively, you can use conditioner between washes. Let me explain using my personal experience: On the days that I don't wash my hair, but my hair feels dry,crunchy, or dull looking  I use conditioner as a substitute to shampoo.

Leave-in Conditioner:  I cannot stress how important leave-in conditioner is! It really helps the overall health and strength of my hair ! Leave-in conditioner is best used right out of the shower, after the hair has been freshly washed, conditioned, or cowashed. Depending on your hair density (thick or thin hair) you can choose a cream or spray leave-in. Your hair will clearly show you which one it prefers. (I prefer cream leave-ins).

Moisturizer: When leave-in conditioner isn't enough from keeping dry hair at bay, is when moisturizer comes into the picture. It is also used on days that I don't was my hair. If you are not washing your hair; section the hair then spritz or spray your hair with water first before applying moisturizer, to ensure penetration.

Oil: Oil can be tricky, if you use too much your hair will be greasy, if you use to little and you will not get the desired effect. You also need to find the right one for you. Depending on your hair, you might need a light oil or a heavy one.

Based on my experience, When I want to use a light oil, I go with Jojoba oil. When I feel I need a heavier oil (usually when my hair feels a bit dry) I use coconut oil.

Oil is usually used to for sealing, which means to seal in moisture into the hair. I concentrate on the ends of the hair, and lightly oil the length of the hair.

Example: for shorter hair, apply oil lightly from the ear length to the ends. For longer hair, from the chin length to the ends. For super long hair, apply oil from the shoulder length to the ends of the hair.

There you have it! The comprehensive guide for what you need, and how to use it!


Friday, August 12, 2011

The importance of sulfate free shampoo

Shampoo is obviously important to cleanse the scalp, but some shampoo's can be drying to the hair and scalp. When purchasing a shampoo, try to purchase one that does not contain Sulfates. This is because sulfate strip your hair of natural oils, causing the hair and scalp to dry out thus making frizzy and dry hair.

How do you know if your shampoo contains sulfates?

If it has any of these ingredients described on the back of the bottle; these are the main sulfates commonly seen in shampoo:

Ammonium Lauryl Sulfate
Ammonium Laureth Sulfate
Ammonium Xylene Sulfonate
Sodium Lauryl Sulfate
TEA Lauryl Sulfate


Your best bet is to buy a shampoo that clearly state that they contain: NO SULFATES
Not to worry, the hair care industry is listening to the demand for non sulfate shampoos.
Here are some to list a few:

IMPORTANT NOTE:  When choosing a shampoo, always try to get one the says "moisturizing" on it!

 
Organic Brand (my other favorite) :

Desert Essence Organics Coconut Shampoo


Drugstore Brand:
L'Oreal Everstrong Hydrating Shampoo

 Salon  Brand:

Elucence Moisture Benefits Shampoo (one of my favorites)


The tools you need to succeed

Curly hair is like no other hair type, for your to thrive they need the proper tools to lessen matting, tangles, and the like.  To achieve the best style and manageability, you must be equipped to build a proper foundation for your curls.  Would you try to build a building without the proper tools? Of course not ! So lets start from scratch and examine the tools you will need to mold the beautiful sculpture that is your curls!  Before you touch your hair, decide what tools you will use to on your hair.


Description from left to right:
The purple comb is a Conair shower comb, it's seamless meaning it contains no ridges which increases curl protection by preventing snags or split ends. This comb is best used when distributing conditioner throughout the hair. These combs are also budget-friendly, ranging between $2 -$3 dollars.

The brown comb is also a shower comb, and is designed especially for tangles. This comb works best for extreme tangles, knots, and matted hair. Accompanied with patience, care, and a ample amount of conditioner, this comb will assist you with your most stubborn tangles. It is also a budget-friendly choice starting at $3 dollars.

The black and red comb is called a Denman D3 styling brush. I am usually one to "just say no" to any brush of any kind, but the Denman is the ONLY and a repeat ONLY exception. This brush is a good detangling tool if used properly. Note: I only use this when my hair is SOAKING WET, due to prevent hair breakage. The price range of this brush starts at $10 or more depending where you purchase it.


Thursday, August 11, 2011

Welcome!!

Hello everyone! and welcome to The Guide to Biracial Hair! I am a dedicated curly girl on a hair journey with the hopes of learning how to acheive great looking curly hair. After years of chemically altering my hair, I have decided to just say no to relaxers texturizers etc.., and to nuture and cultivate my naturally curly hair. I would also like to help others whether; relaxed, texlaxed and naturally curly haired people acheive the best curls possible!